We've been spending lots of time sitting out on our porches or patios lately. It's summer, we are having cookouts, visiting with friends and family and being outside is one of our only options to spend time with them while social distancing.
Richlite is a perfect material for outdoor or indoor tables because of it's durability and waterproof attributes. So for all of you DIYer's out there, we are going to tell you how to make a quick, simple table using Richlite with ready-to-install table bases and legs. Right after a brief history of DIY Richlite tables.
You can also skip straight to the tutorial by clicking here.
A Brief History of Tables Made by a Marketer
I just want to take a minute to reiterate how simple making a table like this is. (We even have a special run of prefinished Richlite table blanks ready to go ready to go here to make it even more simple.)
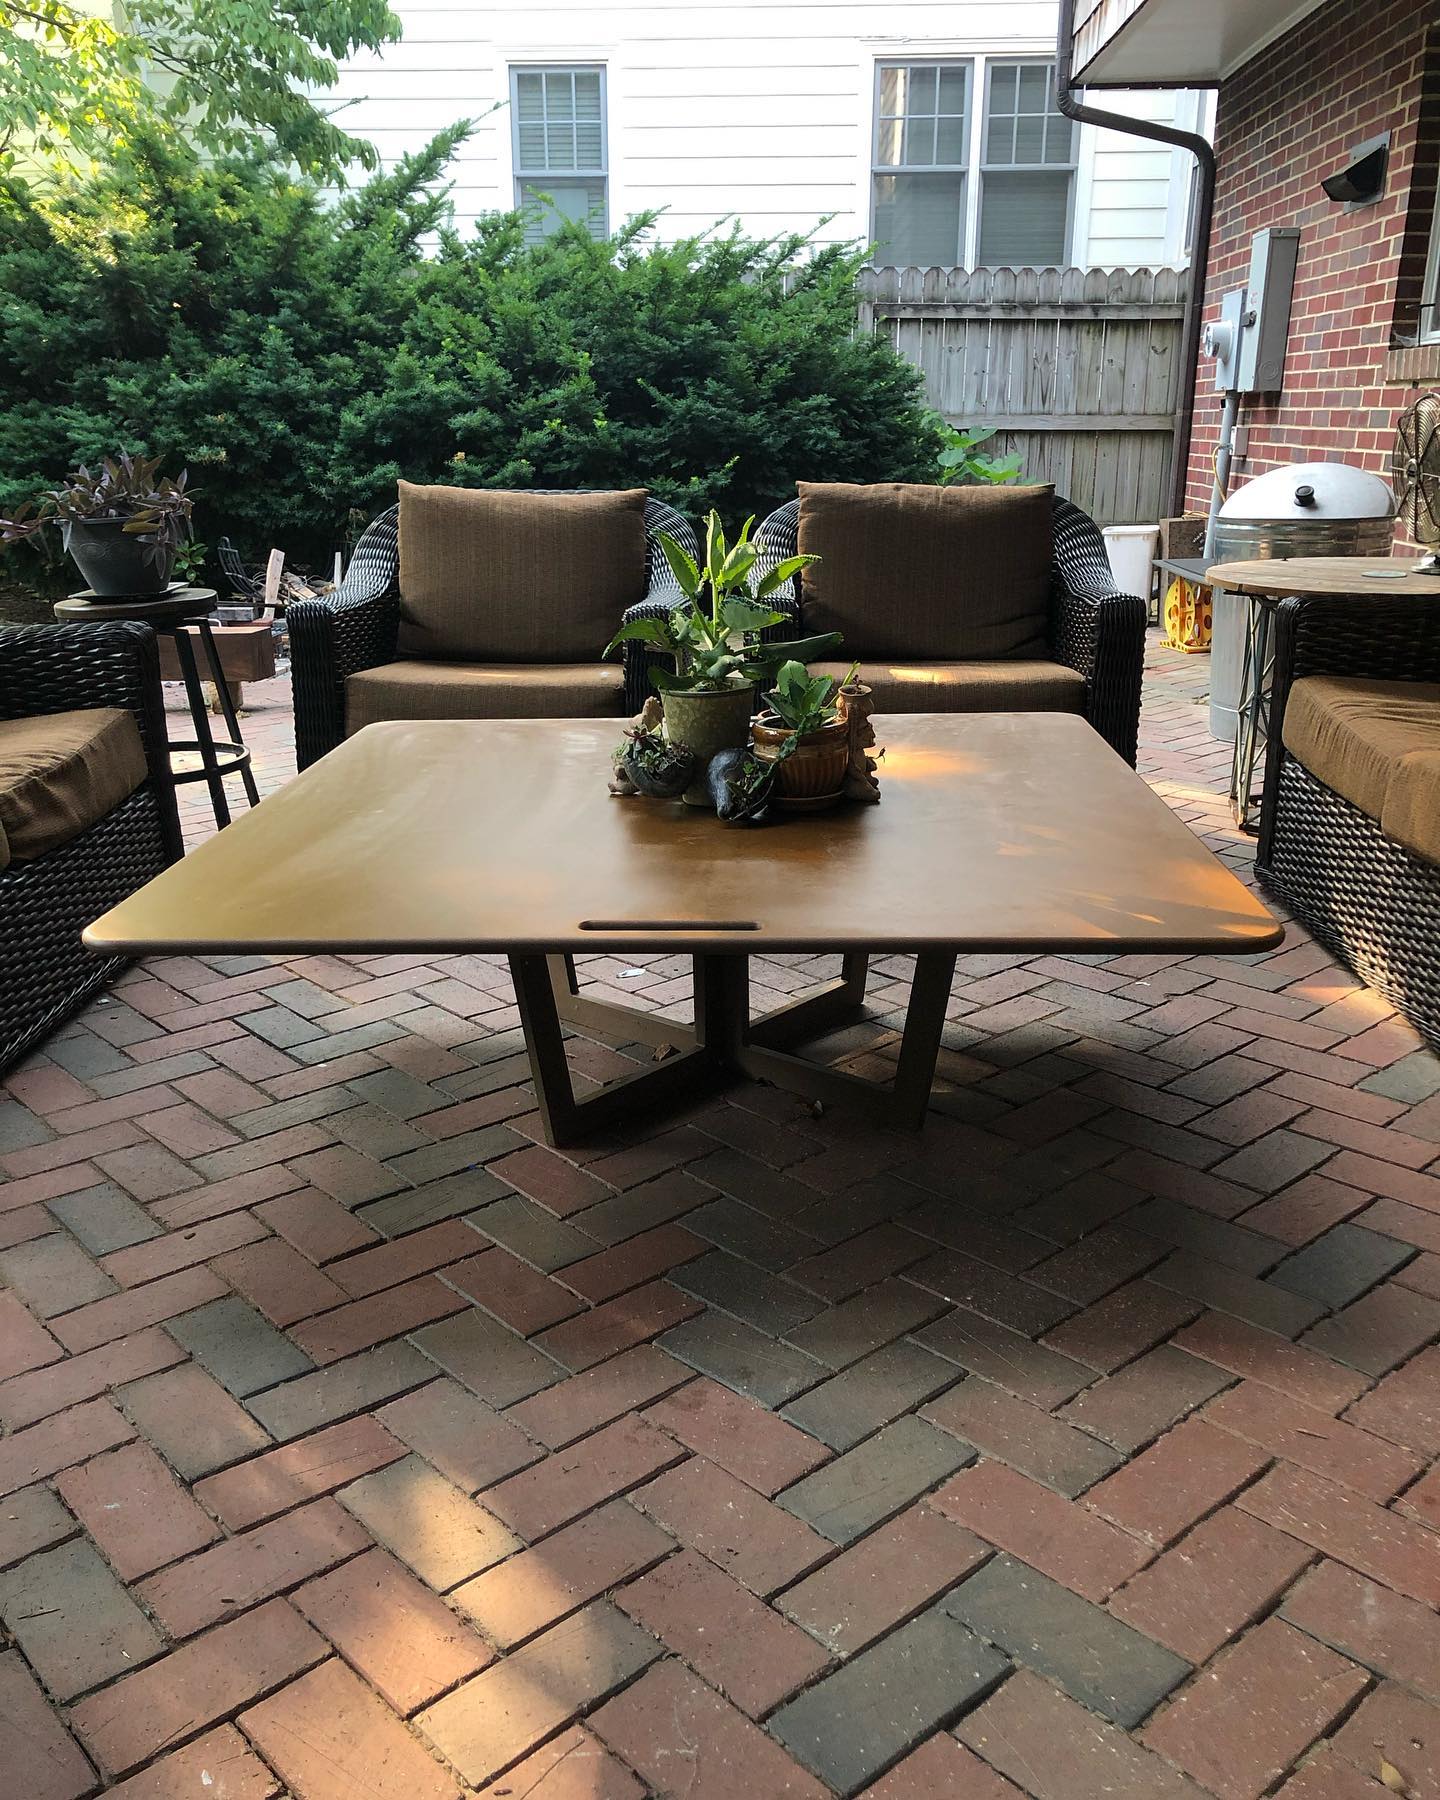
I have minimal carpentry experience. I'm a web designer and programmer by trade. I've made several Richlite tables over the years and I feel like they aren't too shabby:
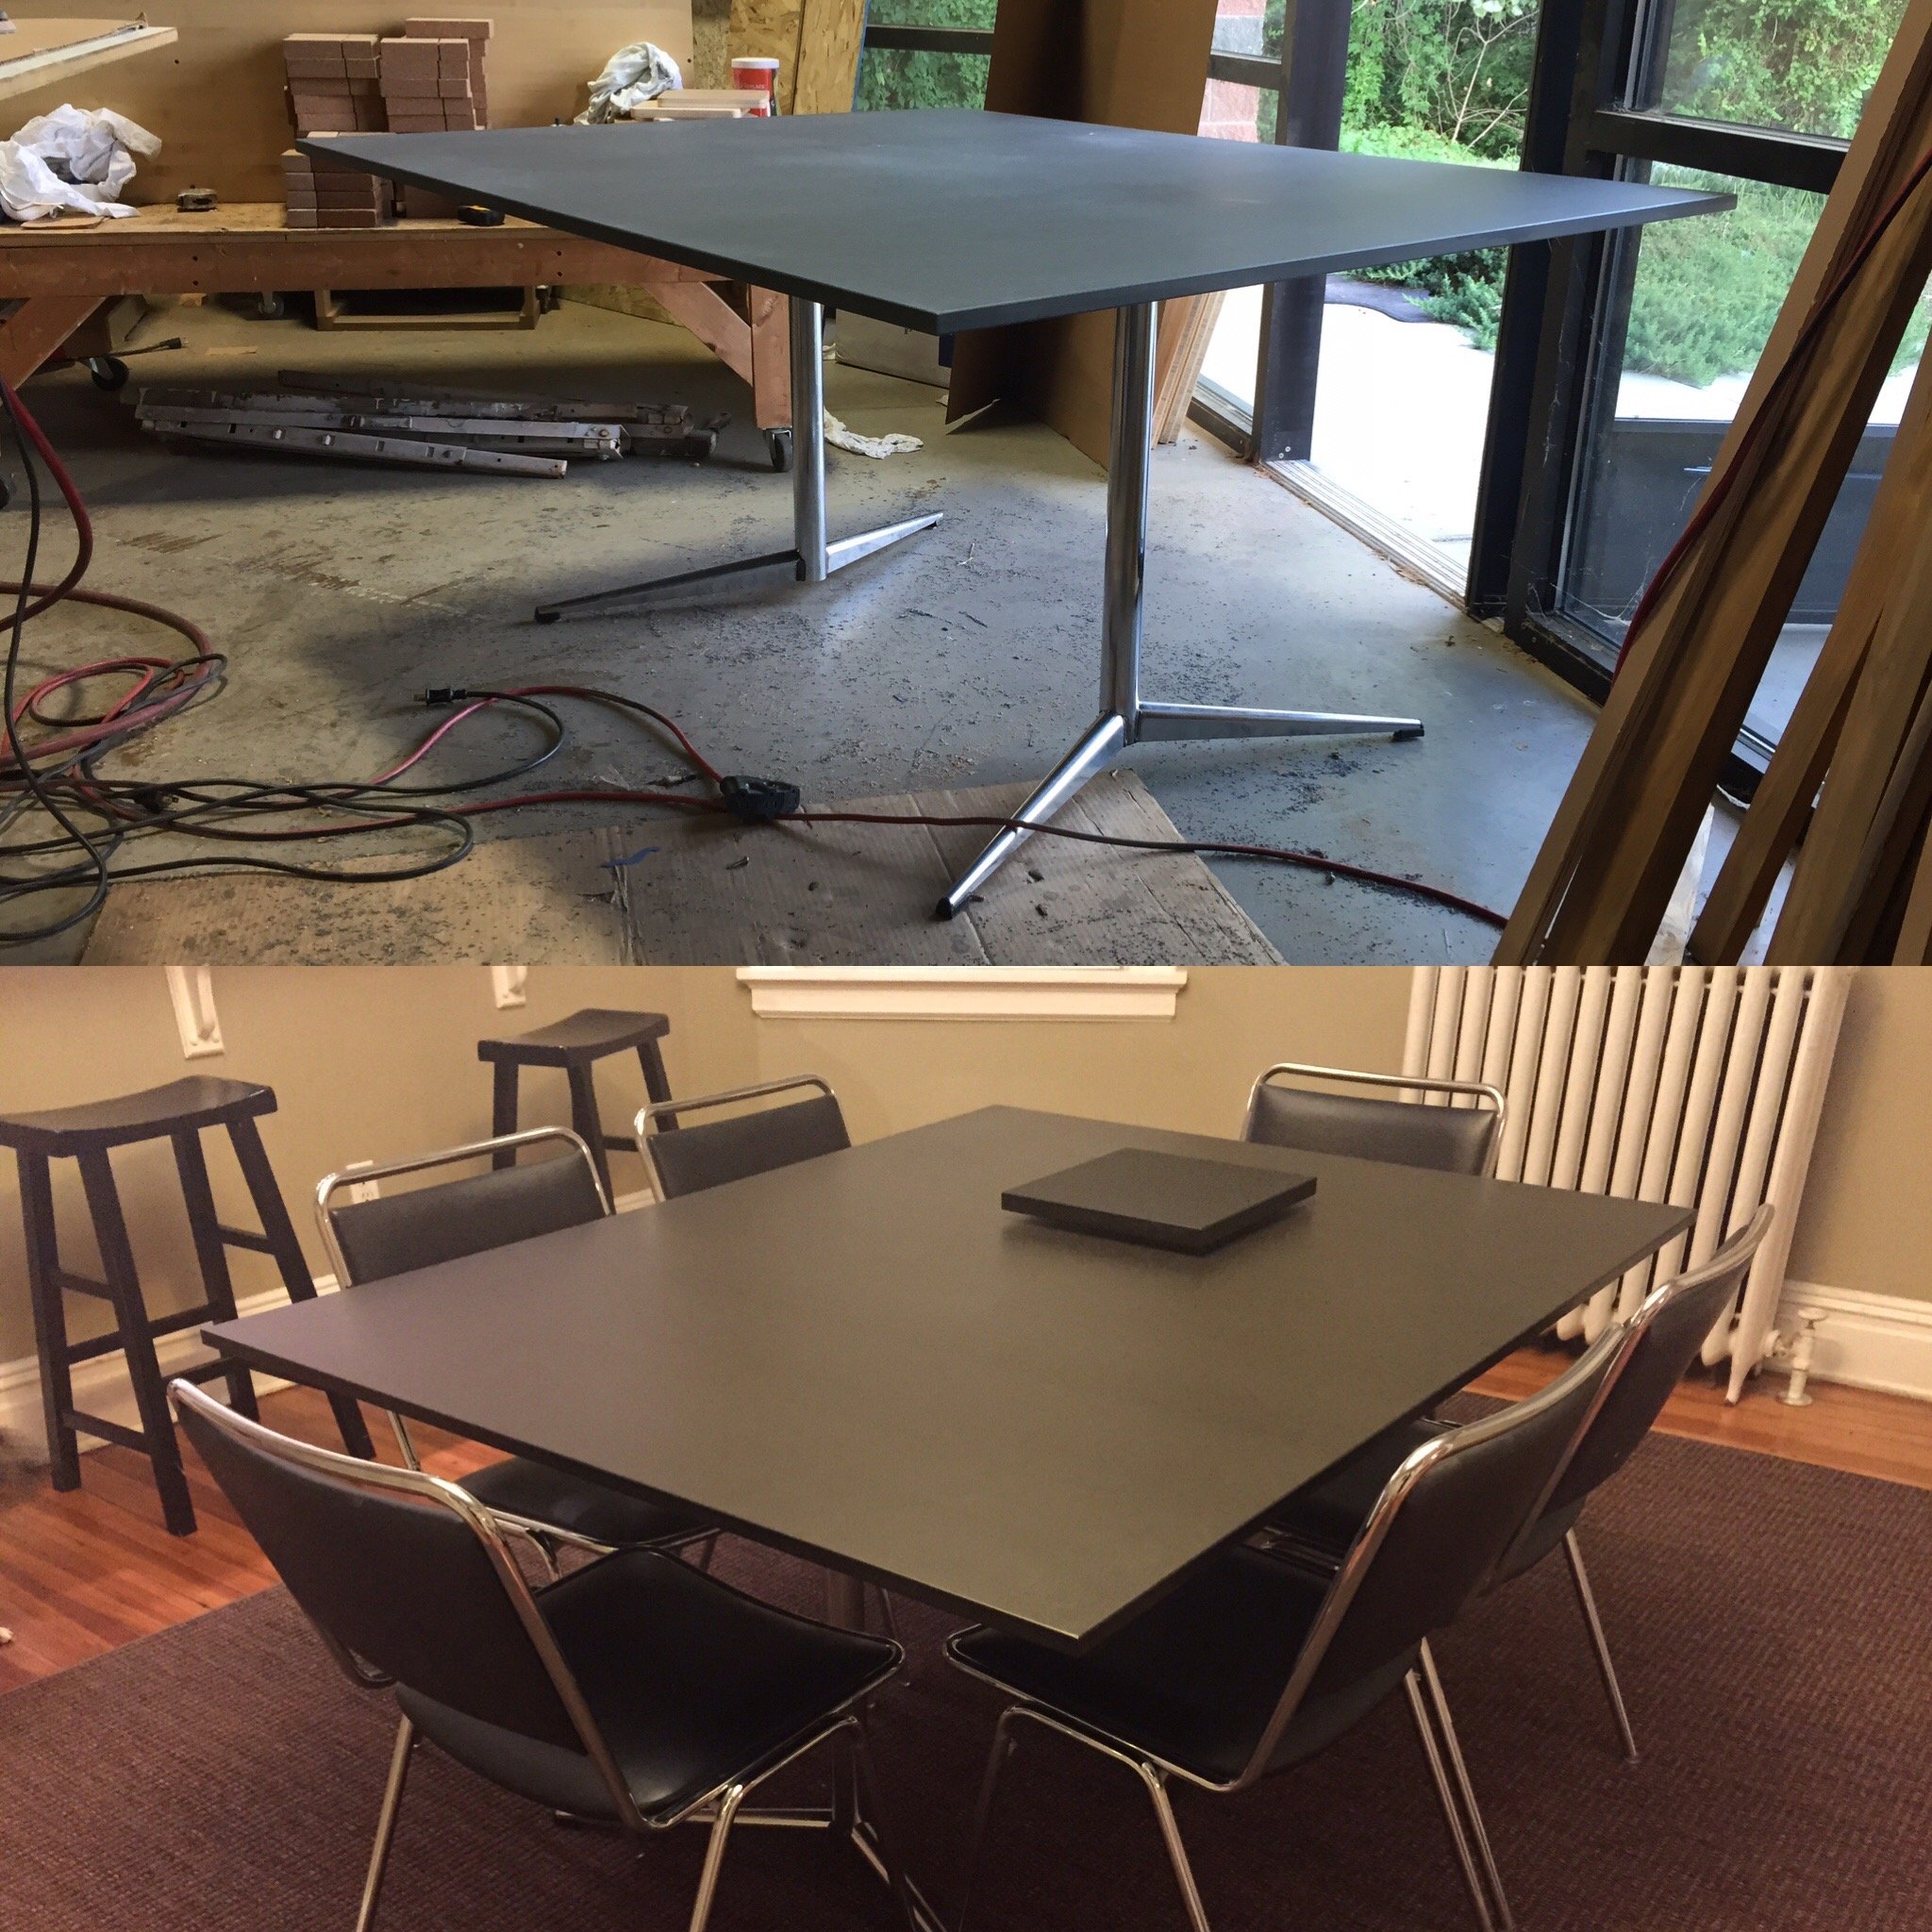
The photo above is of my old dining room table, which has since been donated because our new house has a library instead of a dining room. I found a mid-century table on Craigslist, that had the style of legs I was looking, for only $20! I took the legs off, and screwed them on to this piece of Richlite Gray's Harbor that was prefinished. The only hard part was getting a friend to come help me move it ;)
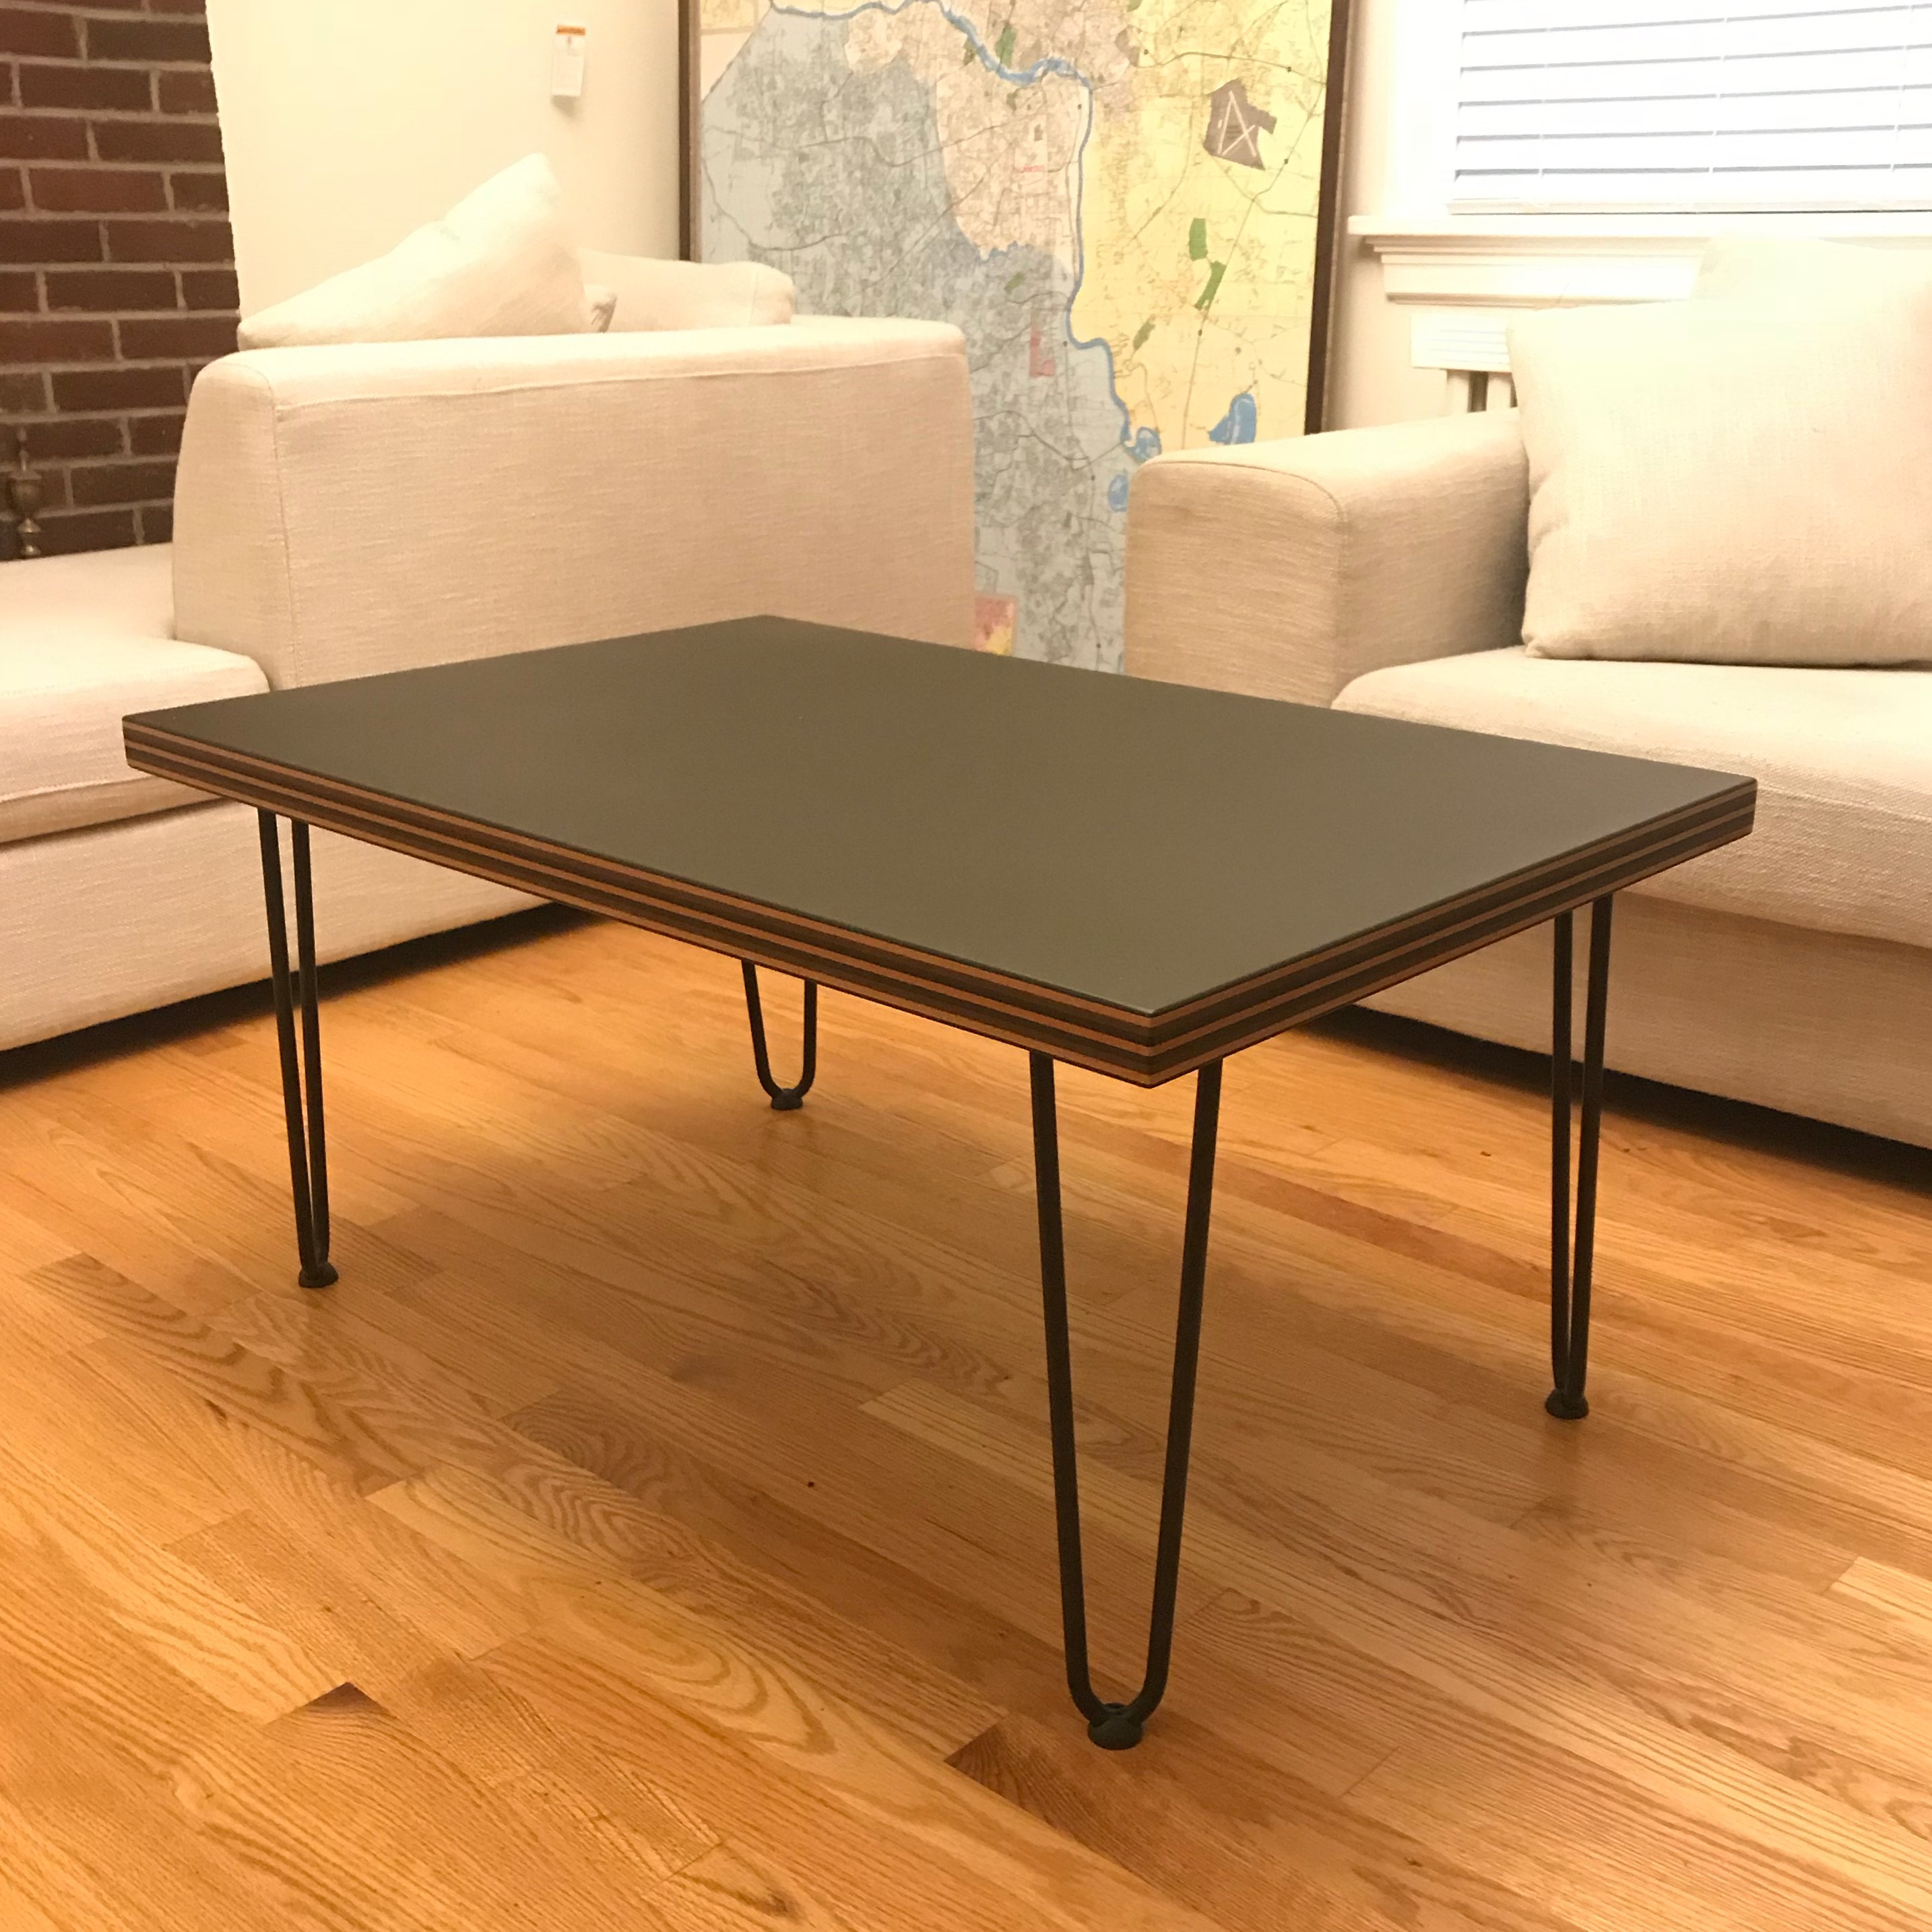
I made my current coffee table out of a piece of scrap from a project that used a custom Richlite cascade panel. First, I sanded the rough edges of the scrap, then rounded over the edges and corners, and applied some OSMO Poly-x Oil finish with a buffer. I bought some simple hairpin legs online, let them sit for a couple months, renovated my kitchen due to termite damage, put in some Richlite countertops, played some video games (cause I deserved a break, right?), then finally pulled out the drill and screwed the legs on.
I also put matching hairpin legs on my bamboo plywood entertainment center and record crate!
If you are a weathered DIYer, you should have no problem putting my meager tables to shame.
Materials Needed
- Prefinished Richlite Top from our online shop
- Table legs or base, weather-proof if using outdoors
- Screws
- Drill (and driver if you please)
- Drill Bit
- Driver Bit
Instructions
- Lay the top finished side down on a soft surface to avoid marring the finished surface.
- Figure out where you would like your legs or base to sit and mark with pencil accordingly.
- Pre-drill holes where your screws will go, make sure not to push the drill too far into the top. When choosing a bit, use something only slightly smaller than the size of your screw. If the pilot hole is too small, you can risk breaking the screw head off. Richlite is tough stuff.
- Place your legs or base and drive the screws into the top. Tip: Make sure the screws you use are not too long for the thickness of your top. Even if you don't go all the way through, you still can risk a bump appearing on the finished side.
- Flip the table over, crack open a cold drink, and set it down without a coaster because Richlite is waterproof!
Here's a quick video with tips on drilling Richlite:
Bonus Tip: You can also use this tutorial for coffee tables, side tables, desks, and even small kitchen tables!

Need a bigger table?
Want a custom shape? Some Richlite legs or a Richlite base? Want us to make it? Click below to get a quote:

Need a large quantity of table tops?
Check out Oxtops, they have a range of standard sizes in Richlite and other durable materials, shipped to you ready-to-install.

If you are local to Richmond and would like to buy some smaller drops of Richlite, give us a call to set up a time to come by.
Here's a link to some hairpin table legs you can use
Eco Supply does not endorse the above table leg products, we are merely offering you a first step in your search for table legs/bases.
Want to learn more about Richlite?
Click the button below to request a Richlite AIA CE course for your firm: